
So you need to migrate your Ninja Forms to Gravity Forms? We’ll show you how to do it in a few simple steps!
Ninja Forms and Gravity Forms are both powerful WordPress form plugins. But many people find that Gravity Forms offers more flexibility due to its updated visual editor and new accessibility features.
In this post, we’ll show you how to migrate your data to Gravity Forms in 6 easy steps. And don’t worry, there’s no need to manually rebuild your forms, no risk of losing entries, and very little time involved.
Sound good? Let’s get started! 🙌
Why Migrate From Ninja Forms to Gravity Forms?
Gravity Forms and Ninja Forms are both powerhouses when it comes to WordPress form plugins. Although Gravity Forms may have a more intuitive visual editor and more powerful accessibility features, both plugins do an amazing job.
However, where Gravity Forms outshines Ninja Forms is its flexibility and extensibility. There are hundreds of powerful add-ons available that turn Gravity Forms into much more than a simple form plugin.
In fact, you can use Gravity Forms as a foundation for building all kinds of powerful web applications!
Can You Export Forms From Ninja Forms and Import Them Into Gravity Forms?
Yes, you can migrate both forms and submissions from Ninja Forms to Gravity Forms! And that’s exactly what we’re going to show you how to do in this post. While there is no “direct” way to share data between the two plugins, it can be done using our powerful Import Entries add-on, just follow the 6 steps below.
1. Export Your Ninja Forms Submissions to CSV
The first step is to export your form submissions from Ninja Forms. To do this, hover over Ninja Forms in your WordPress admin menu and click on Submissions.
Note: Don’t click on Import / Export as this only allows you to export actual forms. In our case, we want to export the submissions and then re-create the forms automatically using Import Entries.
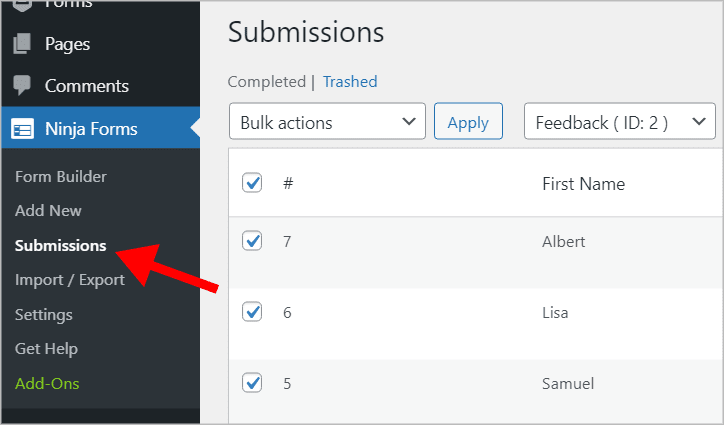
On the Submissions screen, select the entries you want to export. To select all of them, check the box next to the hash (#) symbol. Now, click on the Bulk actions dropdown menu at the top and select Export.

Your form entries will now download to your computer as a CSV file. Open the containing folder and save your exported CSV file somewhere you’ll remember. Okay, on to step 2! 👇
2. Install Import Entries
Gravity Forms itself does not support the ability to import entries, so you’ll need to download and install the Gravity Forms Import Entries add-on.
Import Entries allows you to import data into Gravity Forms from a CSV file and there are no limits on the number of rows you can import! The plugin makes it easy to migrate data from popular form plugins, like Ninja Forms, Formidable Forms, WPForms, or even Caldera Forms to Gravity Forms.
To install Import Entries, purchase the plugin from our website and download the ZIP file from your account page. After that, head back to your WordPress site, hover over Plugins, and click Add New.
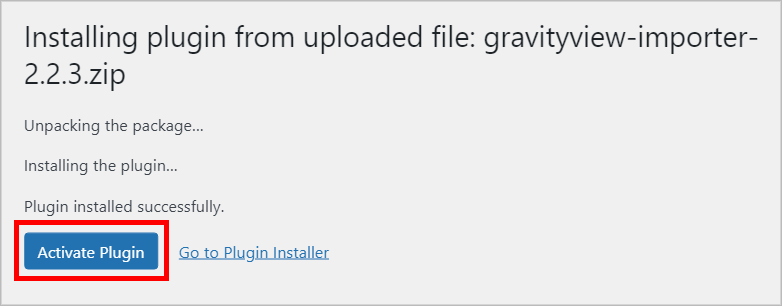
Next, click on Upload Plugin and select the Import Entries ZIP file from your computer. When it’s finished installing, click Activate Plugin.
And with that, it’s on to step 3!
3. Import Your Entries
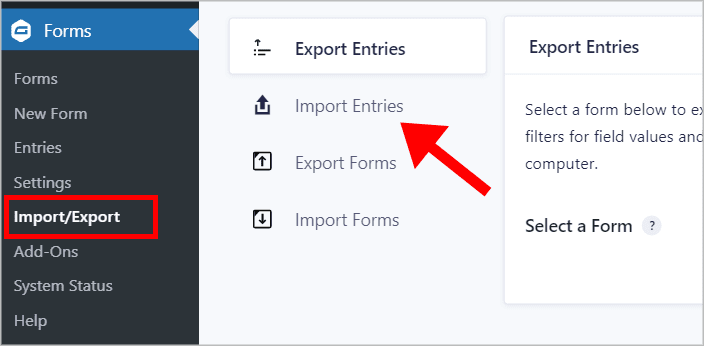
Now that you’ve installed Import Entries, you can import your Entries into Gravity Forms. To do this, hover over Forms in the left-hand menu and click on Import/Export. Next, click on the Import Entries tab on the left.
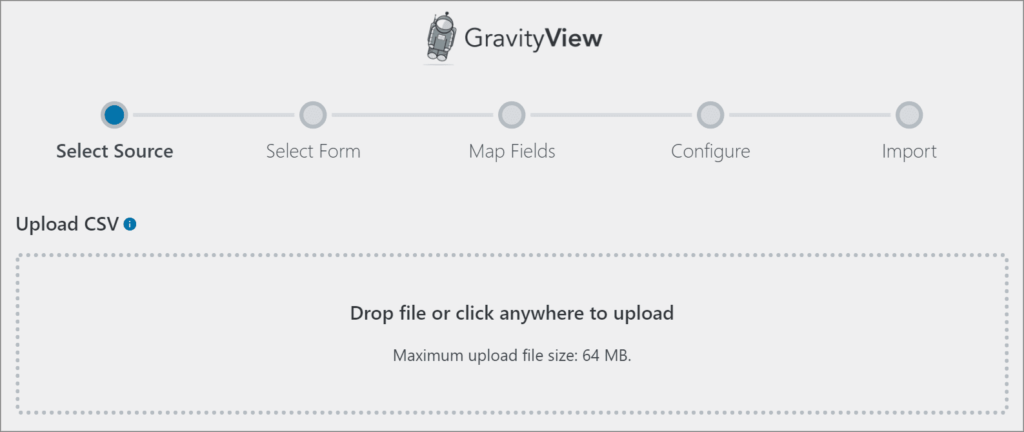
Now you’ll see the Import Entries screen. Click inside the box and upload the CSV file you downloaded from Ninja Forms in the first step.
When the file has finished uploading, scroll down to where it says “Where would you like to import the entries” and select “Create a New Form”.
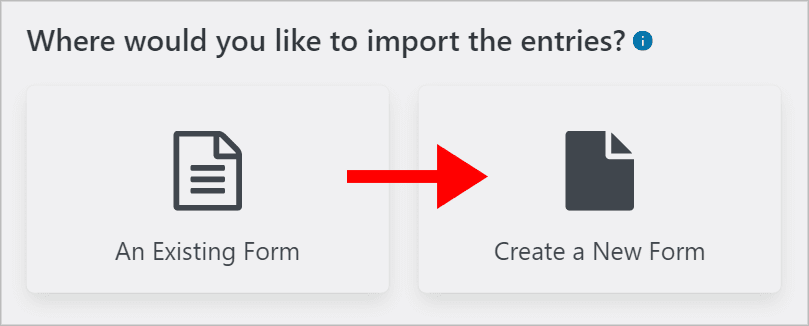
By selecting this option, the Import Entries plugin will automatically create a new form for you in Gravity Forms! Finally, give your form a name and click “Continue With Import”.
4. Map Your Fields
The next step is to map the columns in your CSV file to the correct field types in Gravity Forms. The importer will detect the different field types and try to match them to the correct fields in Gravity Forms. But you can also map fields manually by clicking on the Field Type dropdown and selecting your desired field from the list.
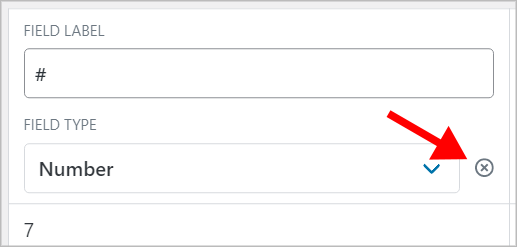
Your Ninja Forms CSV file may contain some metadata that you don’t need, such as the entry ID. In this case, you may want to exclude that data from your import. To do this, click on the ‘x’ button on the right.
When you’re done, scroll down and click “Continue With Import”.
5. Configure the Options
The final step of the import process is to configure the Import options. This allows you to filter entries using conditional logic, receive email notifications for each imported entry, and ensure the import continues if errors arise.
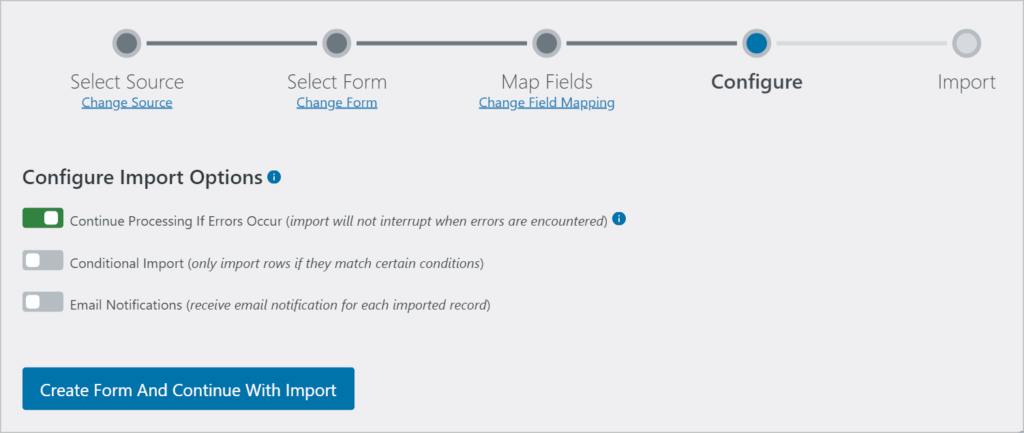
When you’re finished, click “Create Form and Continue With Import”. The importer will now process your entries and import them to a newly created form in Gravity Forms! 🚀
6. Display Your Form
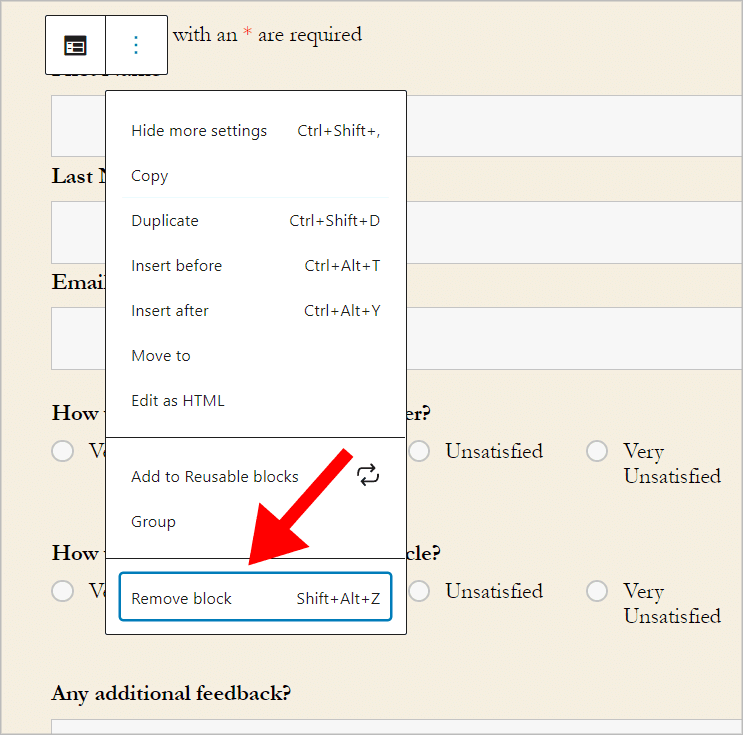
All that’s left to do now is replace the old Ninja Form with the brand new Gravity Form. To do this, edit the page where your old form is embedded. Next, click on the Ninja Forms block, then click on the three vertical dots at the top and select Remove block.
Now click on the ‘+’ button and search for the Gravity Forms block. Click on it to add it to your page.

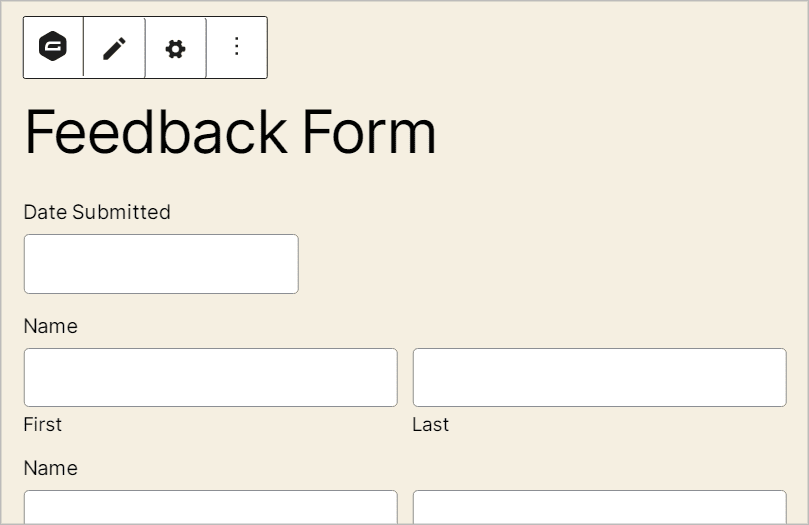
After adding the block, click on the dropdown menu and select the correct form. You should now see a preview of your new form inside the editor.
When you’re done, don’t forget to update your page. That’s it! You have now successfully migrated your form and submission data from Ninja Forms to Gravity Forms 😁
Migrate Your Ninja Forms to Gravity Forms Today!
In this post, we showed you how to import Ninja Forms entries to Gravity Forms using the Import Entries plugin.
Import Entries allows you to import data from a CSV file into Gravity Forms. The plugin makes form migration easy by creating new forms for you automatically. And it all happens in the blink of an eye!
For a frustration-free migration process, get Import Entries today.
Join Our Newsletter!📧🙌
✅ Helpful Gravity Forms content straight to your inbox
✅ Be the first to hear about new updates and releases